Showing posts with label holiday. Show all posts

17.6.12

Chamomile Cloud Muffins


Let me tell you a little bit about my dad. 

Throughout his life, he has been a sculptor, painter, composer, musician and novel writer. He only does something if he loves it and he is always adaptable to change. This has been the most inspiring thing to me as I have grown up. Not only do I have someone who tells me "follow your heart, do what you love," but I have a role model who shows me that this is truly possible. Thank you, Dad, for always surrounding me with art, music and love my whole life.

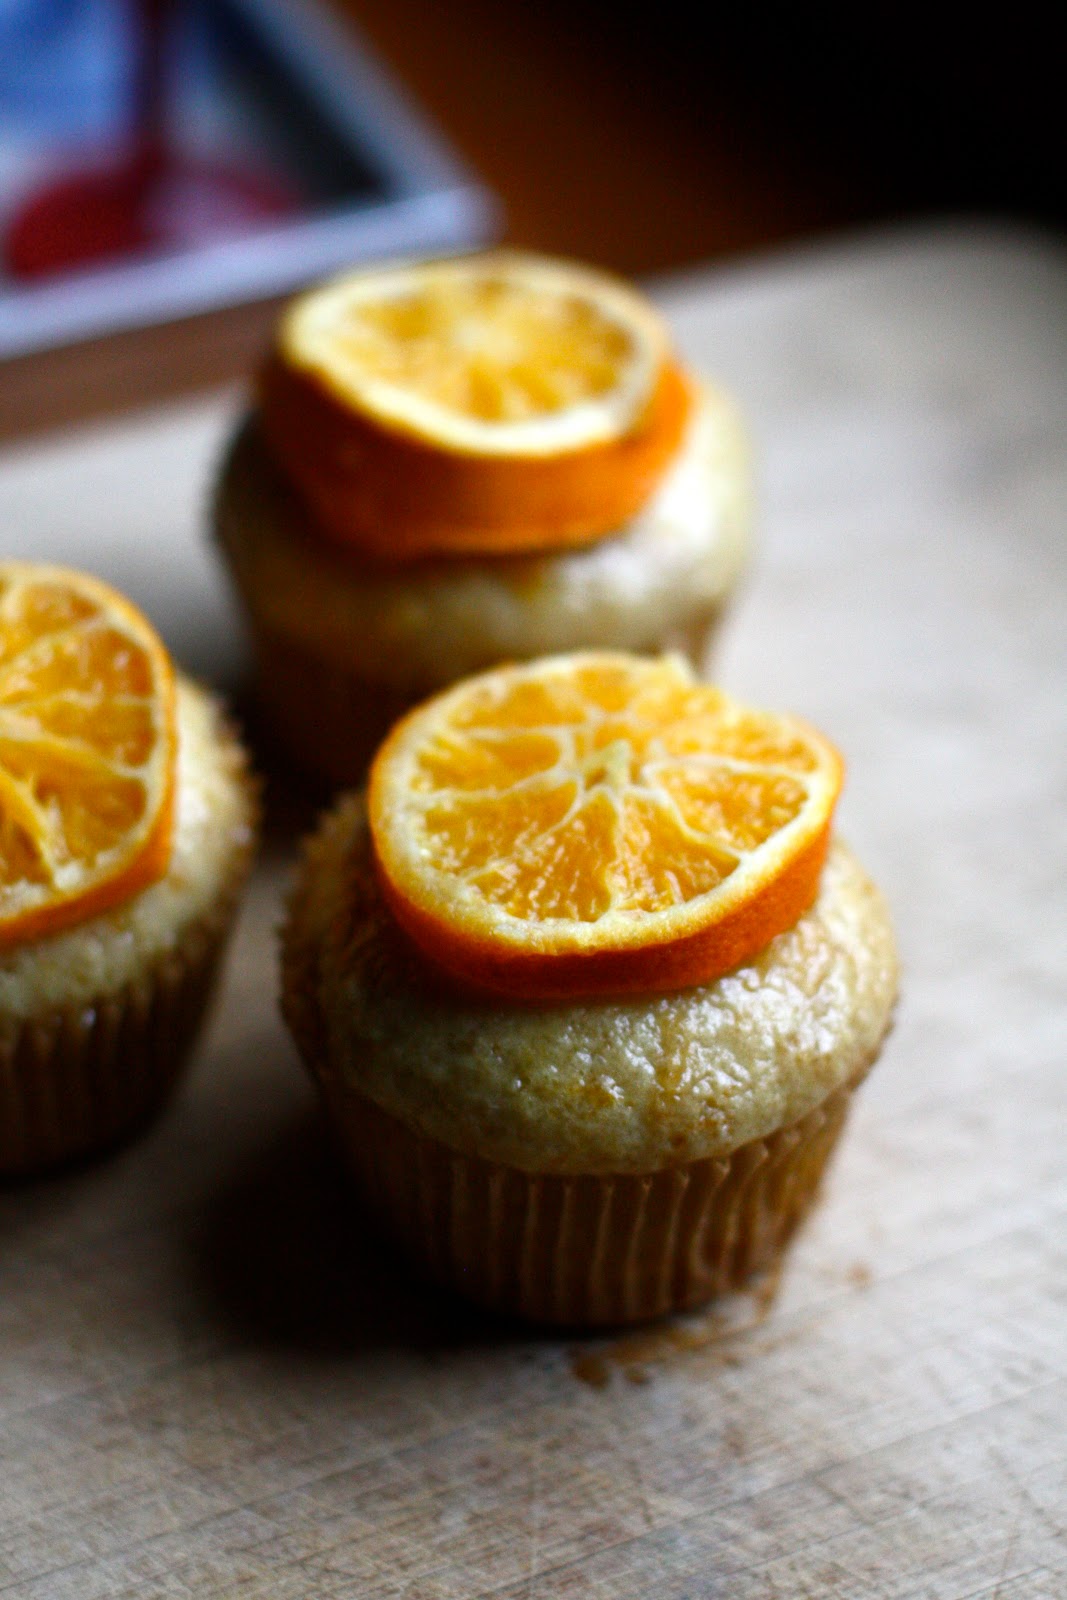
Happy fathers day! To my dad and all great fathers.

Oh and one more thing about my dad? 
Here's an abridged list of things he can't eat because of his sensitive stomach:
-onions
-garlic
-peppers
-tomato sauce (yet he can eat whole tomatoes...)
-too much oil or butter
-too much sugar
-too much salt
-dairy


This often makes it hard for me to cook or bake things that he can stomach. But you know what he can eat? These muffins. He says they are one of his favorite things that I have baked while at home. The chamomile flavor really comes through and goes perfectly with the subtle, sweet coconut. They are some of the lightest, fluffiest muffins I have ever made!


Chamomile Cloud Muffins with Vanilla Coconut Glaze(loosely adapted from this recipe by the Sweet Life)

makes about 16-18 muffins

1/2 cup earth balance
1 cup all-purpose flour
1 cup whole wheat pastry flour
2/3 cup agave
3 tsp baking powder
1 tsp baking soda
1/4 tsp salt
1/4 cup dried chamomile leaves (from tea bags)
1 cup non-dairy milk
3 tsp ener-g egg replacer 
1/2 cup water
2 tsp vanilla extract

Glaze:

1/2 cup coconut cream*
1 tbsp agave
1/3 cup powdered sugar
1/2 tsp vanilla extract

*Chill a can of full-fat coconut milk for at least an hour. Once it's ready, scoop up the thick cream from the top of the can and if it's not quite 1/2 a cup, add a little extra coconut milk.

1. Preheat your oven to 350º and line a muffin tin with cupcake liners.
2. In a large bowl, cream together the earth balance, flour, agave, baking powder and soda, salt and chamomile. Mix until crumbly. In a separate small bowl, whisk together the egg replacer and water.
3. Add the milk, egg replacer and vanilla to the large bowl and stir until just combined. Pour batter into the liners, about 3/4 of the way full. Bake for 15-20 minutes, or until a toothpick comes out clean.
4. Meanwhile, make your glaze by whisking together the ingredients in a small bowl until smooth and creamy. Once the muffins have cooled for about 15 minutes, drizzle them with glaze and enjoy with a cup of tea!


19.3.12

Chocolate Whiskey Cupcakes with Buttercream Frosting


My holiday post is a little belated... but I hope everyone had a happy St. Patrick's Day! I meant to post this on Saturday, but my weekend got insanely busy with rehearsals and work.

I'm only partially Irish, so St. Patrick's Day has never been a huge deal for my family. I'll wear green to show some pride, but that's about it. This year, however, I decided to get a little crazier and flaunt my Irish heritage with some good old fashioned Irish whiskey- baked in a cake, that is ;)


Chocolate Whiskey Cupcakes with Buttercream Frosting

makes about 10 cupcakes

Cake (adapted from this recipe)

1 1/4 cups all-purpose flour
1 cup sugar
2 1/2 tsp baking powder
1/3 cup cocoa powder
1/2 tsp salt
1/2 cup warm water
1/2 cup Jameson Irish Whiskey
1/3 cup vegetable oil
1 tsp white distilled vinegar

Frosting:

1/3 cup vegan butter (I used earth balance)
2 cups powdered sugar
3 tbsp soy milk (or 1 tbsp soy milk and 2 tbsp whiskey, if you want to make it extra boozey!)
1 tsp vanilla

1. Preheat your oven to 350º and grease or line a cupcake tin.
2. Combine the flour, sugar, baking powder, cocoa and salt in a large bowl. Stir in the remaining ingredients and mix until just combined. Pour batter into the cupcake tin and bake for about 20-25 minutes or until a toothpick comes out clean.
3. While your cupcakes bake, prepare the frosting by creaming together the earth balance, soy milk (or whiskey), vanilla and one cup of sugar. Once it is creamy, whisk in the remaining powdered sugar. Either refrigerate for about an hour, or serve drippy and room-temperature, like I did :)


Thanks to everyone for the wonderful traveling suggestions! I'm still in the process of plotting out my route, so I'm open to any further recommendations and advice. I love hearing about other peoples travel stories- it makes me so excited to have my own adventures!

14.2.12

Happy Valentines, Have a Cookie!


Things I Love:

-listening to music and reading in a warm and cozy coffee shop
-laughing so hard you cry
-the feeling you get when a plane is taking off- like your stomach is dropping and your body is lifting. weird, but I love it.
-having picnic dinners on my living room floor with my family
-watching bad movies with best friends
-dancing so hard that you forget your feet hurt 
-my cats
-staring out at the ocean
-classic love stories
-the smell of cookies fresh from the oven....


Orange Spiced Sugar Cookies with Cinnamon Icing

makes about 8 large hearts

Cookies:

1 1/2 cups white unbleached flour
1/2 cup sugar
1/2 tsp baking powder
1/2 tsp salt
1/2 tsp cinnamon
1/4 tsp cloves
zest of 1 orange
1/2 cup canola oil
1 tsp vanilla
1 tbsp orange juice
2 tbsp cornstarch mixed with 1 tbsp water (replaces an egg)

Icing:

2 tbsp soy milk
1 cup powdered sugar
1/2 tsp cinnamon
1/2 tsp vanilla

1. In a large bowl, mix the flour, sugar, baking powder, spices and orange zest. In a measuring cup, stir together the remaining ingredients.
2. Pour the wet mixture into the dry and combine using a wooden spoon or your hands. You may need to add a little bit of water if the dough is too crumbly. Form the cookie dough into a ball, wrap it in plastic wrap or foil and refrigerate it for about an hour.
3. Begin to preheat your oven to 375º. Once the dough has chilled, let it soften and warm up a bit, then roll it out to about 1/2 cm thick. Cut out desired shapes (hearts for today, of course) and place on a greased cookie sheet. 


4. Bake cookies for about 8-10 minutes, or until the bottom edges begin to turn golden brown. Let them cool for at least 10 minutes before icing.
5. While the cookies bake, prepare the icing by whisking together the ingredients in a medium bowl or in a food processor.


6. Ice the cookies, let them harden for about 10-15 minutes, and share with everyone you love!


<3

6.2.12

My Love Affair with Upside-Down Cake


I have this thing for upside-down cakes. You could call it a crush, but I'm pretty sure it's become more than that. I've started daydreaming about the different possibilities of flavors and imagining that beautiful moment when you bite into the perfect combination of fruit and cake and it just melts in your mouth...

Yeah, I am officially having a love affair with upside-down cake.


I realized I've been holding out on you guys- I made this gingerbread and pear cake about a month ago when I was still home for winter break! It was a parting gift to my family, but let me tell you, that cake was hard to leave behind. 


Gingerbread Pear Upside-Down Cake (inspired by this recipe on Epicurious)

1 1/2 cups flour
1 tsp baking soda
1/2 tsp cinnamon
1/2 tsp allspice
1/4 tsp salt
1/2 cup earth balance
1/4 cup water
1/2 cup dark brown sugar
1/2 cup molasses
1/4 cup applesauce
3 tsp ener-g egg-replacer
1/4 cup water
1/4 cup grated fresh ginger
1 1/2 tbsp apple cider vinegar

1 pear, peeled and sliced thinly
1 tbsp melted earth balance
1 tbsp brown sugar

1. Preheat your oven to 350º. Line the bottom of a 9" round pan with parchment paper and grease the sides. Pour the melted earth balance into the bottom of the cake pan and swirl it around so it covers the whole surface. Arrange the pear slices on top and sprinkle them with brown sugar.
2. Whisk together the flour, baking soda and spices in a medium bowl. Melt together the butter and water and combine the egg-replacer with the other 1/4 cup of water.
3. Beat the molasses and brown sugar together, then stir in the applesauce and egg-replacer. Once smooth, add in the flour mixture and stir until just combined. Finally mix in the butter/water mixture, ginger and vinegar. 
4. Pour the cake batter on top of the pears and place the cake in the oven for about 35-40 minutes. Promptly lick the bowl. Don't even fight it, it's impossible to resist. 
5. Once the cake is done, let it cool for at least 10 minutes, then carefully flip it over onto a plate. Serve warm and enjoy :)

Freshly flipped

This cake is perfectly moist, rich and sweet. The fresh ginger also gives it a kick that you don't get with powdered ginger- it's incredible. It would be really great served with vegan whipped cream or coconut ice cream!


6.1.12

My Favorite Cake


I really love cake. So when I say this cake is my favorite, you know it's some serious business.
I don't think there's anything more romantic or heavenly than chocolate and cherries. Maybe chocolate and strawberries, but it's a close tie. This cake is moist, rich but not too rich, and will blow your mind at the first bite. Make this for that special someone and if they're not already in love with you, they sure will be now.


Chocolate & Cherries Cake with Rich Chocolate Frosting (adapted from Cookie and Kate)

1 1/2 cups whole wheat pastry flour
1/4 cup unsweetened cocoa powder
1 tsp baking soda
1/2 tsp salt
1 cup sugar
1/2 cup canola oil
1 cup strong coffee, cooled
1 tsp vanilla extract
1/2 tsp chocolate extract (or more vanilla)
2 tbsp apple cider vinegar
1 bag frozen cherries (thawed), or about 2 cups fresh and pitted

1. Make your cup of coffee and stick it in the fridge to cool down. Preheat the oven to 375º and line the bottom of an 8" or 9" round pan with parchment paper.
2. In a large bowl, whisk together the flour, cocoa, baking soda, salt and sugar.
3. In a measuring cup, mix the oil, cooled coffee, and vanilla & chocolate extracts. Pour this into the dry and stir until combined. 
4. Add in the vinegar and you will see little bubbles appear in the batter. Mix until the vinegar seems to be evenly distributed.
5. Pour the cake batter into your prepared pan. Sprinkle the cherries evenly over the batter and press them towards the bottom of the pan with your finger. Bake for about 40 minutes or until a toothpick comes out clean. Let cool completely before you frost it.


Frosting:

1 cup semi-sweet chocolate chips
2 tbsp soy milk
1/2 tsp vanilla extract 

Melt the chocolate chips in the microwave, or if you don't have a microwave like me, in a double broiler until smooth. Remove from heat and stir in the soy milk and vanilla. Spread frosting evenly over the cake and top with a sprinkling of powdered sugar. 


Just one bite...


Yum.


Put down whatever you're doing and go make this cake. Now.

On a completely non-cake related note... I'm going to California tomorrow for my College Winter Term project! I will be working at a natural history museum taking photos and setting up galleries for them. I'm staying with some friends who also love to bake and are excited to try some vegan baking with me. I can't wait to post recipes from the land of sun, surf and sand!

1.1.12

A Sweet Start to the New Year

My favorite part about writing down new year's resolutions is looking back on your hopes and wishes from the past year. Sometimes I get lucky and they come true, sometimes they don't, and sometimes the wish is not something I even care about anymore. This past year a few great resolutions came true, like making new friends, doing well in all of my classes, getting a job that I enjoy, and discovering a new passion- baking! 2011 has been an incredibly eventful year. 

Some of my resolutions for this coming year include:
-Cut back time on my laptop (which is a difficult task for a college student these days...)
-Start to do yoga again
-Travel outside of the country
-Update this blog at least twice a week, hopefully more!
-Continue to make new friends and reach out to people
-Always continue to take risks and have adventures

I feel like my resolutions are always a little cheesy, but I'm okay with that. What I've come to learn is that you can never really imagine where you're going to be a year from now. I never guessed that I would have my own vegan baking blog- a year ago, I was still eating meat and cheese!
Anyway, enough holiday rambling. I'll bet you want to get on to the food. Despite being up until about 5am last night, I just had to start the year off right with a delicious breakfast. I still had some coconut milk eggnog leftover from Christmas and I decided to put it to good use and make some perfectly sweet and fluffy pancakes.


Fluffy Eggnog Pancakes (adapted from here)

makes about 16 medium pancakes

2 cups all-purpose flour
2 tsp egg-replacer
1/4 tsp salt
2 tbsp sugar
3 tsp baking powder 
2 tsp baking soda
1/2 tsp cinnamon
1/2 tsp nutmeg
1 tbsp earth balance, melted
1 1/4 cups vegan eggnog (I used So Delicious Coconut Milk Eggnog)
1 1/4 cups rice or almond milk

1. Preheat a griddle to 375º or a non-stick skillet over medium heat.
2. Combine all of the dry ingredients in a large bowl and mix well. Then add in the wet and stir until just combined- it's okay if there are still lumps. For maximum fluffiness, stir as little as possible.
3. Grease the skillet or griddle with a little earth balance and pour the batter out in heaping 1/4 cups. You may have to spread it out into a circle, then cook on each side for about a minute or until the bubbles at the surface begin to pop. 
4. Serve with a sprinkle of cinnamon and maple syrup.


Happy 2012 everyone!!
Here's my favorite pump-up song to celebrate a new beginning :)

30.12.11

Clementine Cupcakes


Slowing down is one of the hardest things for me to do. I'm so used to having every minute of my day filled up and even though I get stressed, I kind of enjoy it. I like having purpose. So now, having time to just sit at home and do nothing is really bizarre. It was an adjustment at first, but now I'm finally relaxing into just reading a book, doing crossword puzzles or listening to music while I can! I started a new book- Tinkers- and it's amazing so far. New Years Resolution: read more books for fun.

With all this spare time, I can finally experiment a little more with baking! I'm not exactly sure why, but my family tends to go crazy buying clementines in the winter. I decided I would put them to better use than just sitting in the fruit bowl...

These cupcakes are the perfect mixture of sweet and tart and are just so pretty! Because of the usual holiday overload of decadent sweets, I decided to make these super low-fat. However, if you don't like the texture of low-fat desserts (think less fluffy but more moist), you're welcome to sub out the applesauce for more canola oil.


Clementine Cupcakes with Clementine Vanilla Glaze

2 cups flour
1 cup sugar
1 tsp baking powder
1 tsp baking soda
2 tbsp clementine zest (about 4 clementines)
1/2 tsp salt
1 1/4 cups soy milk
1 tbsp egg replacer
3 tbsp applesauce
1 tbsp canola oil
3 clementines, peeled
1 tsp vanilla

1. Preheat oven to 350º and line or grease a cupcake tin. 
2. In a large bowl combine the flour, sugar, zest, baking powder and soda and salt.
3. In a cup, whisk 3 tbsp of the soy milk with the egg replacer. Puree the three clementines in a blender until liquified, then pour only 1/4 cup of the puree into a small bowl and mix it with the "egg," milk, applesauce, vanilla and oil.
4. Add the wet ingredients to the dry and stir until just combined. Spoon the batter into the cupcake liners- about 3/4 of the way full. Bake for about 20 minutes or until a toothpick comes out clean.


Glaze:

1 cup powdered sugar
1/4 cup clementine puree
2 tbsp soy milk
1/2 tsp vanilla

1. Combine the wet ingredients in a bowl and slowly add in the powdered sugar. Whisk until smooth.
2. Once the cupcakes are done baking, dip just the tops into the glaze for about 10 second each so that they can absorb the sugary goodness. Let cool on a baking sheet and serve with a clementine slice on top.*

*I attempted to make caramelized clementines by slicing them and coating them with 2 tbsp of oil and 1/4 cup of sugar and baking them in the oven for about 20 minutes at 400º. I'm not sure if they ended up completely caramelized, but they taste delicious and look good on top of the cupcakes! You can try this if you want and maybe vary the method a little.


These would be excellent to bring to a New Year's Eve Party! It's always good to bring your own dessert if you are vegan, because otherwise you just have to cry silently in the corner while everyone else eats cake. It's pretty sad. These will save you, I promise.


28.12.11

Monkey Bread

Okay I'll admit, I still get ridiculously excited on Christmas morning and tend to wake up at 6:30 or 7am to go open my stocking with my brother. Maybe slightly embarrassing, but hey, I'm not sure if the Christmas morning magic ever fades. My dad lights a fire in the fireplace, we turn the tree lights on, and take our sweet time enjoying each and every present we unwrap. 
Our beautiful Christmas tree!


Christmas loot


Continuing with the theme of tradition in the last post, our holiday breakfast tradition is to make monkey bread- a delicious twist on traditional cinnamon rolls. Of course we're all in a sugar coma by lunch time, but it's totally worth it. Again, we had never tried making this vegan before, but my mom and I made a few adjustments and everyone agreed it was actually the best we had ever made!

Monkey Bread with Caramel Glaze (adapted from the Martha Stewart Holiday Magazine 2002)

Bread:
1/4 cup warm water
1/4 cup granulated sugar, plus a pinch for the yeast
1 package yeast
2 tbsp earth balance
3/4 cup soy milk, warmed
1 tsp salt
1/4 cup applesauce or 1 egg replacer
3 1/4 cups flour

Coating:
1/2 cup earth balance, melted
3/4 cup light brown sugar
2 tsp cinnamon

Caramel Glaze
1/2 cup brown sugar
5 tbsp earth balance
6 tbsp soy milk
1 tsp vanilla
1 cup powdered sugar

1. Put the warm water and a pinch of sugar in a small bowl and sprinkle the yeast over the top. Stir and let it sit for about 5 minutes.
2. Place the earth balance, warmed soy milk, salt and applesauce in a large bowl. Grease a medium bowl.
3. Once the yeast is foamy, add it to the bowl and mix well. Slowly add the flour and knead for 5 minutes. Put the dough in the greased bowl, cover with plastic and let it rise for 20 minutes.
4. To make the coating, pour the melted butter in a bowl and combine the cinnamon and sugar in another. Grease a bundt pan.

5. Divide the dough into 4 sections and roll each section into a long rope, about 1/2" thick or less. Cut the ropes into tiny pieces and roll them into balls. Dip each piece first in the butter, then coat it in cinnamon sugar and place in the bundt pan. Repeat until all the dough is used up.


6. Cover the pan with plastic wrap and let the dough rise for about an hour. 
7. Preheat the oven to 350º and bake bread for 30 to 35 minutes. Let it cool for 15 minutes in the pan before turning it onto a plate.
8. Make the caramel glaze by combining the brown sugar, 2 tbsp of earth balance and 2 tbsp of soy milk in a sauce pan. Cook over low heat until dissolved, then cover and cook for 3 more minutes. Take the cover off and let it simmer without stirring. 
9. Turn of the heat then stir in the remaining ingredients. Drizzle it over the monkey bread right before serving. 


It's a little labor intensive, but can be really fun if you get family and friends involved in rolling up the dough balls. I guarantee this bread will give you a great reason to wake up in the morning, even if it's not Christmas!


This post was featured on Sweets for a Saturday!


26.12.11

Christmas Eve with Mr. Cookie Baker


Christmas is my absolute favorite holiday- full of great company, perfect presents and of course, delicious food. My family is not religious, so our Christmas is always more about being together, being thankful for each other and everything we have, and generosity. This movie just about sums it up.

We also tend to stick to old childhood traditions, like watching Muppet Christmas Carol on Christmas eve and eating crab for Christmas eve dinner. The Muppets continue to live on, but the crab tradition had to be thrown out the window this year since we now have two vegans in the house. Instead, I decided to make a seitan roulade with mushroom and walnut stuffing. I was a little skeptical at first about making my own seitan, but it ended up delicious! You can get the recipe here, but I used dried cherries instead of cranberries and took out the onion and garlic because my dad's stomach is super sensitive. Everyone loved it, even my carnivore brother. 


Our other tradition is to make Christmas cookies and decorate them together. I'm pretty sure we've used the same recipe every single year. We found it in the back of a children's book- Mr. Cookie Baker- that my brother and I used to read over and over when we were little. Actually this book is the reason I wanted to grow up to be a baker (and look at me now!)


Of course we had to veganize the recipe this year, but they still ended up buttery, delicious, and so much fun to make!


Mr. Cookie Baker's (Vegan) Cookies

makes about 3 trays full of cookies 

5 cups all-purpose flour
2 tsp baking powder
1/2 tsp salt
1 cup earth balance
1 1/2 cups sugar
2 eggs worth of egg replacer or 1/2 cup applesauce
1/2 tsp vanilla extract
1/2 tsp maple extract 
1/4 cup plus 2 tbsp non-dairy milk

1. Mix together 2 cups of the flour, baking powder and salt in a medium bowl.
2. In a large bowl, cream together the earth balance and sugar. Then beat in the egg-replacer, vanilla, maple and non-dairy milk.
3. Stir the dry into the wet and gradually add enough remaining flour until the dough is stiff enough to roll out. 
4. Form the dough into a ball, wrap in plastic wrap and chill for at least 1 hour. 
5. Preheat the oven to 375º and roll out the dough on a floured surface to about 1/8" thickness.


6. Cut out into pretty shapes, then re-roll and repeat until all the dough is used up!


7. Bake the cookies on an un-greased cookie sheet for about 10 minutes or until lightly browned.


Frosting:

2 tbsp earth balance
2 cups powdered sugar
1 tsp vanilla
1/4 cup soy milk

1. Combine all of the ingredients in a food processor and mix on high until smooth and creamy.
2. Divide into separate bowls and mix a couple drops of food coloring into each bowl.

Once the cookies are completely cool, decorate them with frosting and sprinkles and place them on parchment paper to let the frosting set.


These are great to share with your family and friends! Mr. Cookie Baker has never let me down. I hope everyone had a great holiday! Does anyone else have any fun family traditions?